GLM3 setting
In this entry, we explain how you can control GLM3 load management with an Excel list.
Follow arrows 1 and 2 to access the settings page.
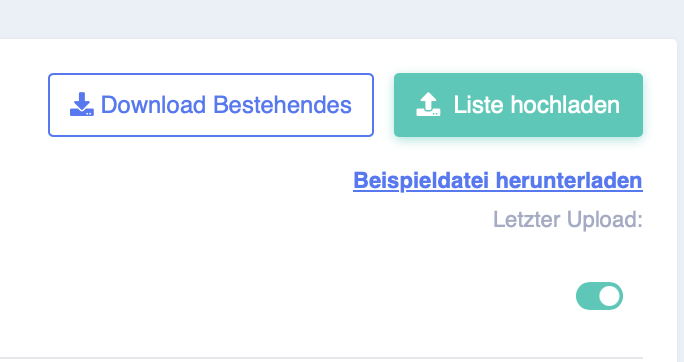
Here, you can now activate the limit at arrow 3. This is necessary for the next steps.

You now have the option to create and upload an Excel file. You can download a sample file by clicking on "Download sample file".
The date must be formatted as shown in the sample file and must be in column "A". There
must also be a column with the title "TOTAL". However, it does not matter which column this is in.

The time intervals between the individual entries must be at least 5 minutes. So
you can use 28 August 2025 10:00 and 28 August 2025 10:05 as the next entry.
Shorter intervals are not possible. However, you can also enter longer intervals.
Example:
28 August 2025, 10:00 a.m
. 29 August 2025, 9:00 a.m.
1 September 2025, 3:00 p.m.
If the data is several days apart, the set value will be retained until the next change.
You can upload the created Excel file using the "Upload list" button.
If the Excel file has not been created correctly, it will not be accepted.
You have now uploaded the Excel file.
With the "Select tab" option, you can set which tab in the Excel file should be used. This allows you to enter several days or months in one document but separated into tabs.
At the bottom, under "Preview", you can see the entries that have been recorded in the Excel file for checking purposes.
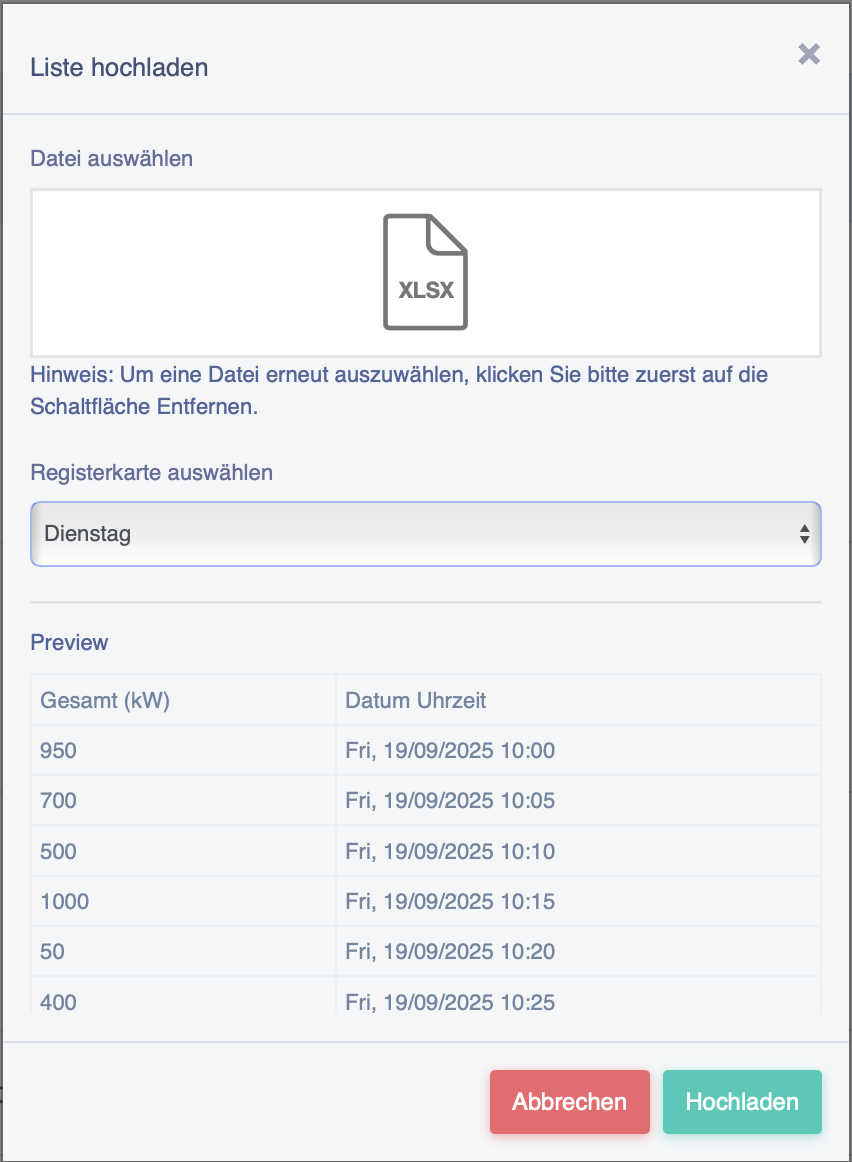
Now click on "Upload".
Under "Execution activity", you will now see:
Last execution: The value that was last changed.
Next execution: The value that will be used next
. Last entry: Here you can see the last entry in the Excel file. This provides a better overview of when a new Excel file needs to be uploaded.
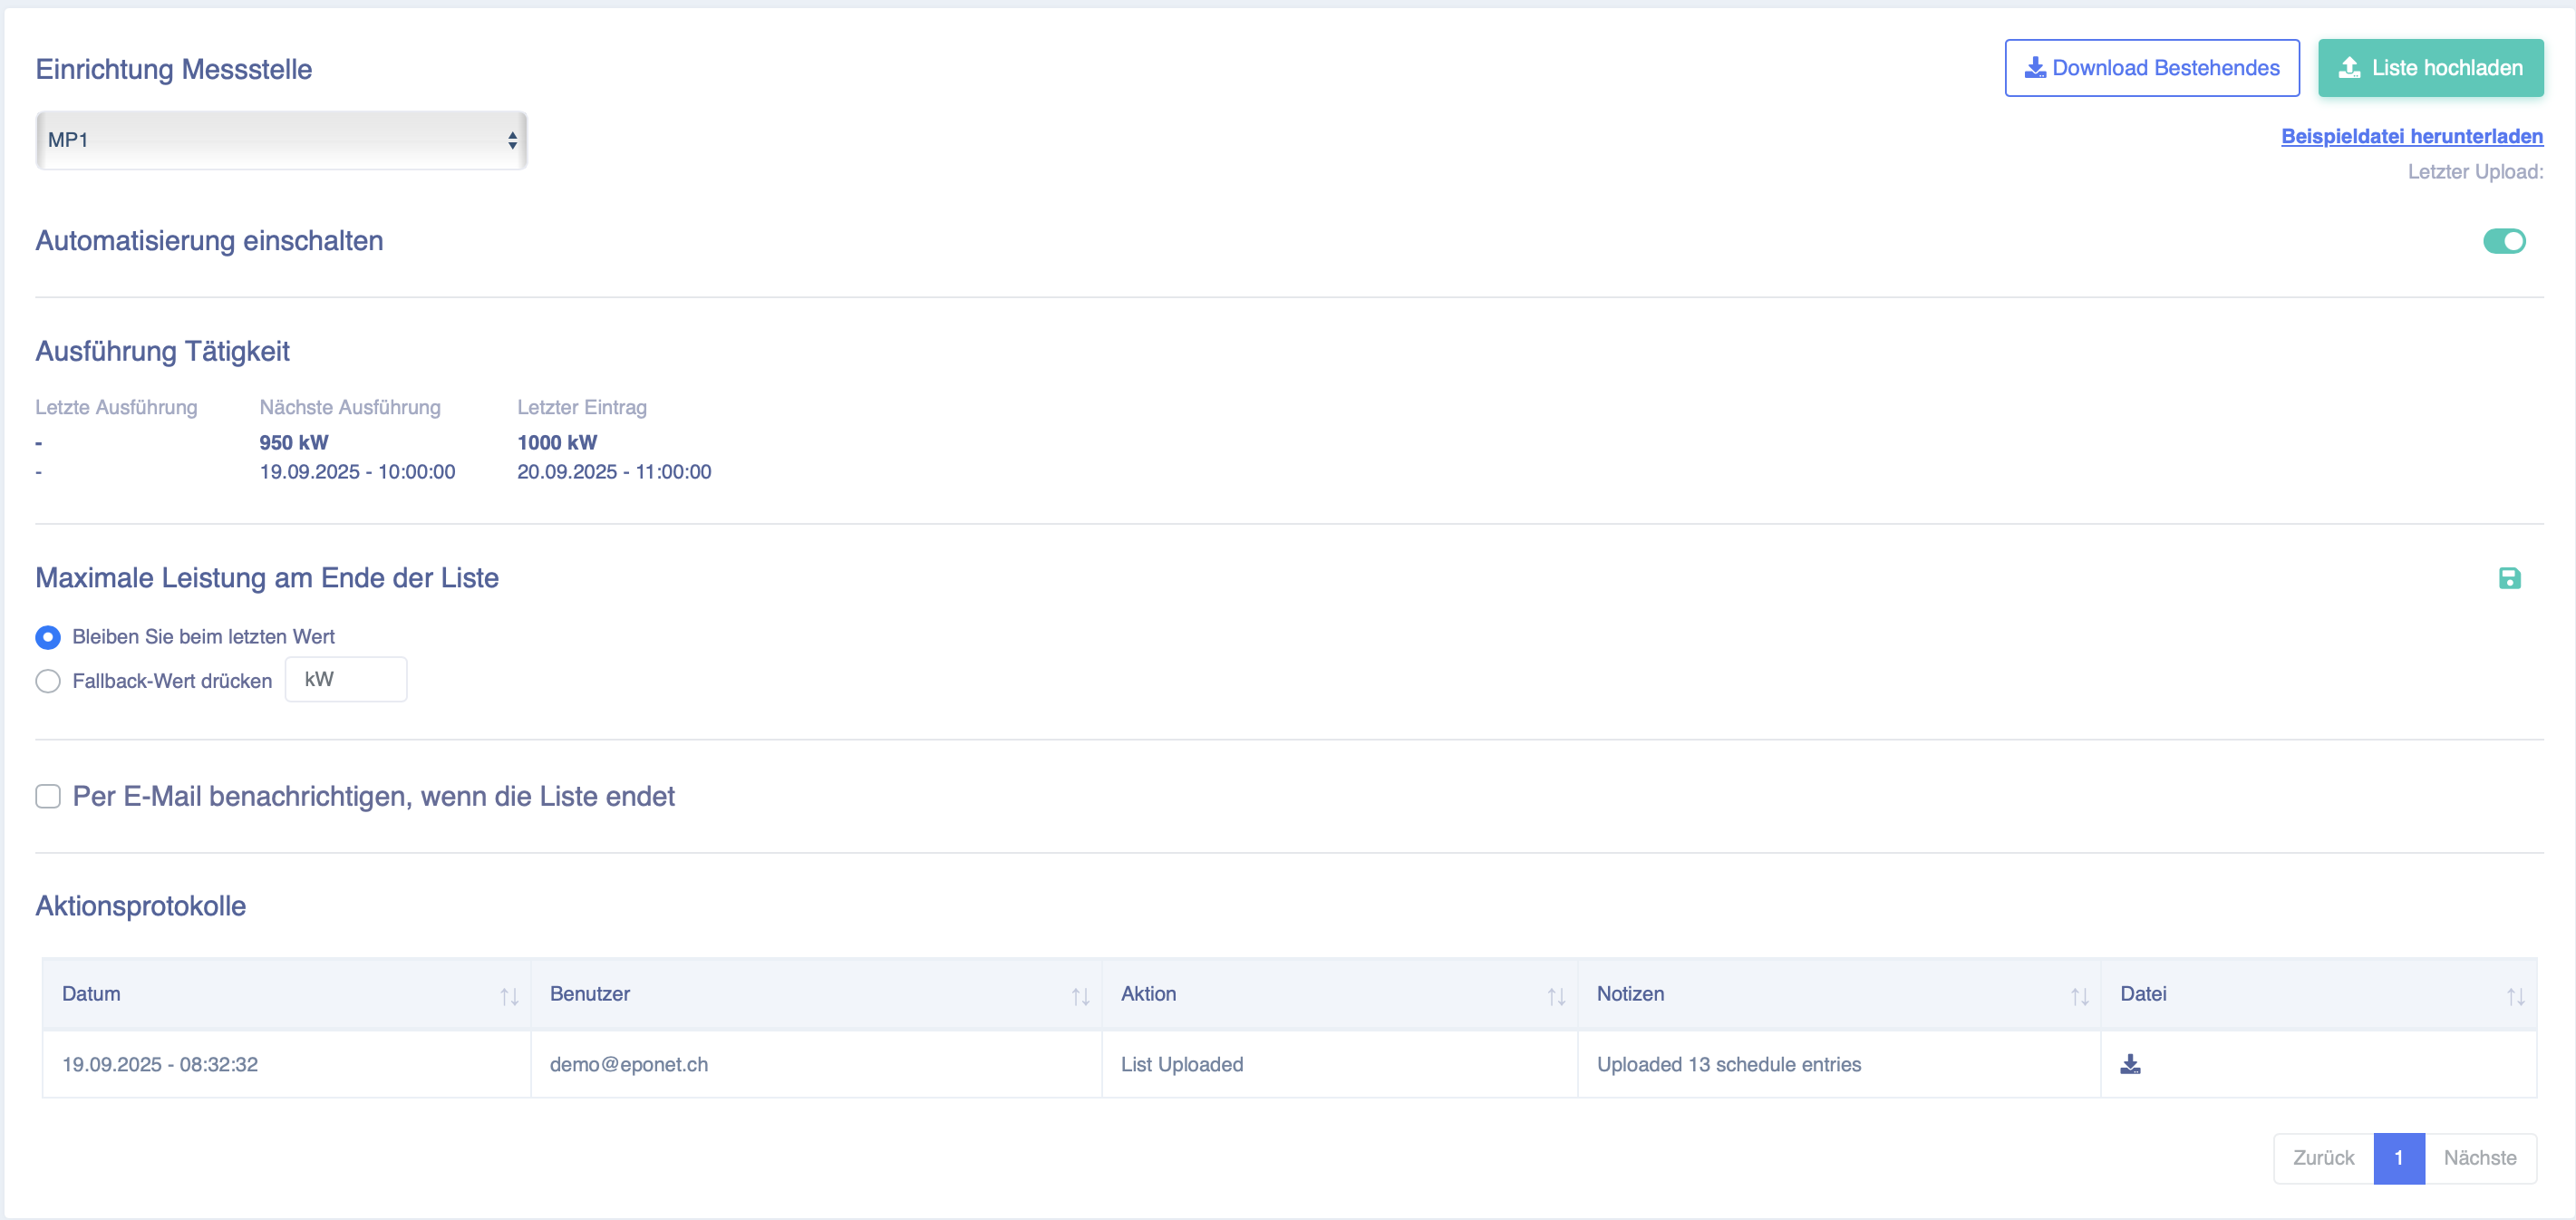
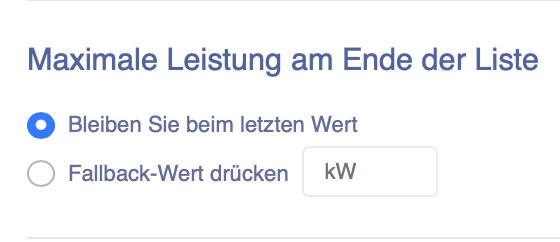
You now have the option of setting how load management should behave if the Excel list expires.
This becomes active when there are no more entries.
Stay with the last value: The last changed value is simply retained. Press
fallback value: Here, the value that you can enter in the field is regulated (for example, 80 for 80kW).
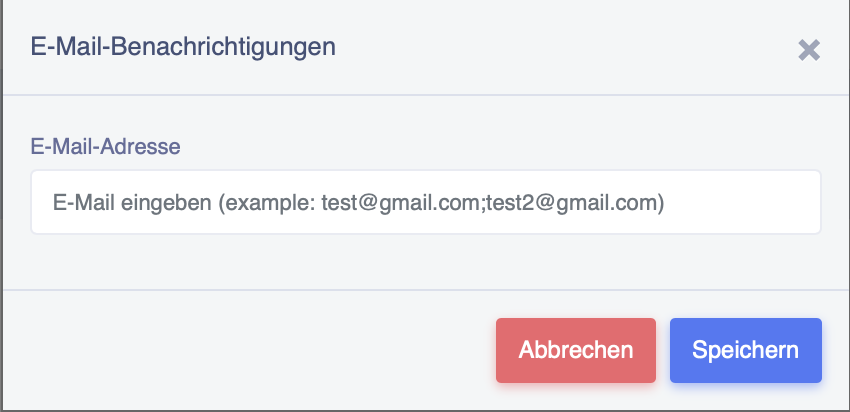
Finally, you can activate monitoring. This means you will be notified by email when the list is finished.
Activate this monitoring by ticking the box.

The following window will now open, in which you can enter your email address.
Confirm your entry by clicking "Save".